Presenting code in Keynote
Presenting a technical topic in-front of a (larger) audience comes with a bunch of challenges. This post will outline how to solve a very specific one of them: to present a specific feature in a programming language, you need to show some code.
But showing code is always difficult, here are five constraints to show code on slides:
- Colors can't be random, it needs a good contrast.
- Fonts and spaces are important, it needs to be easily readable.
- One concept at a time, we shouldn't dump too much information at once.
- Follow the programming language default format
- Make it appealing for your audience of programmers
Let us take a look how to achieve all of this by looking at the following example of explaining recursion in Elixir.
The problem with showing code like this is that it draws away the audience attention when you put this up on a slide. They will try to read and interpret the code. Managing the audience's attention is key, and you can achieve this by only revealing the code bit by bit while explaining it.

Let's start with the basics. Use really high contrast; for code on projectors black font on white is usually the way to go. To get the maximum space remove everything else from your slides, like borders, slide numbers, or company or twitter handles.
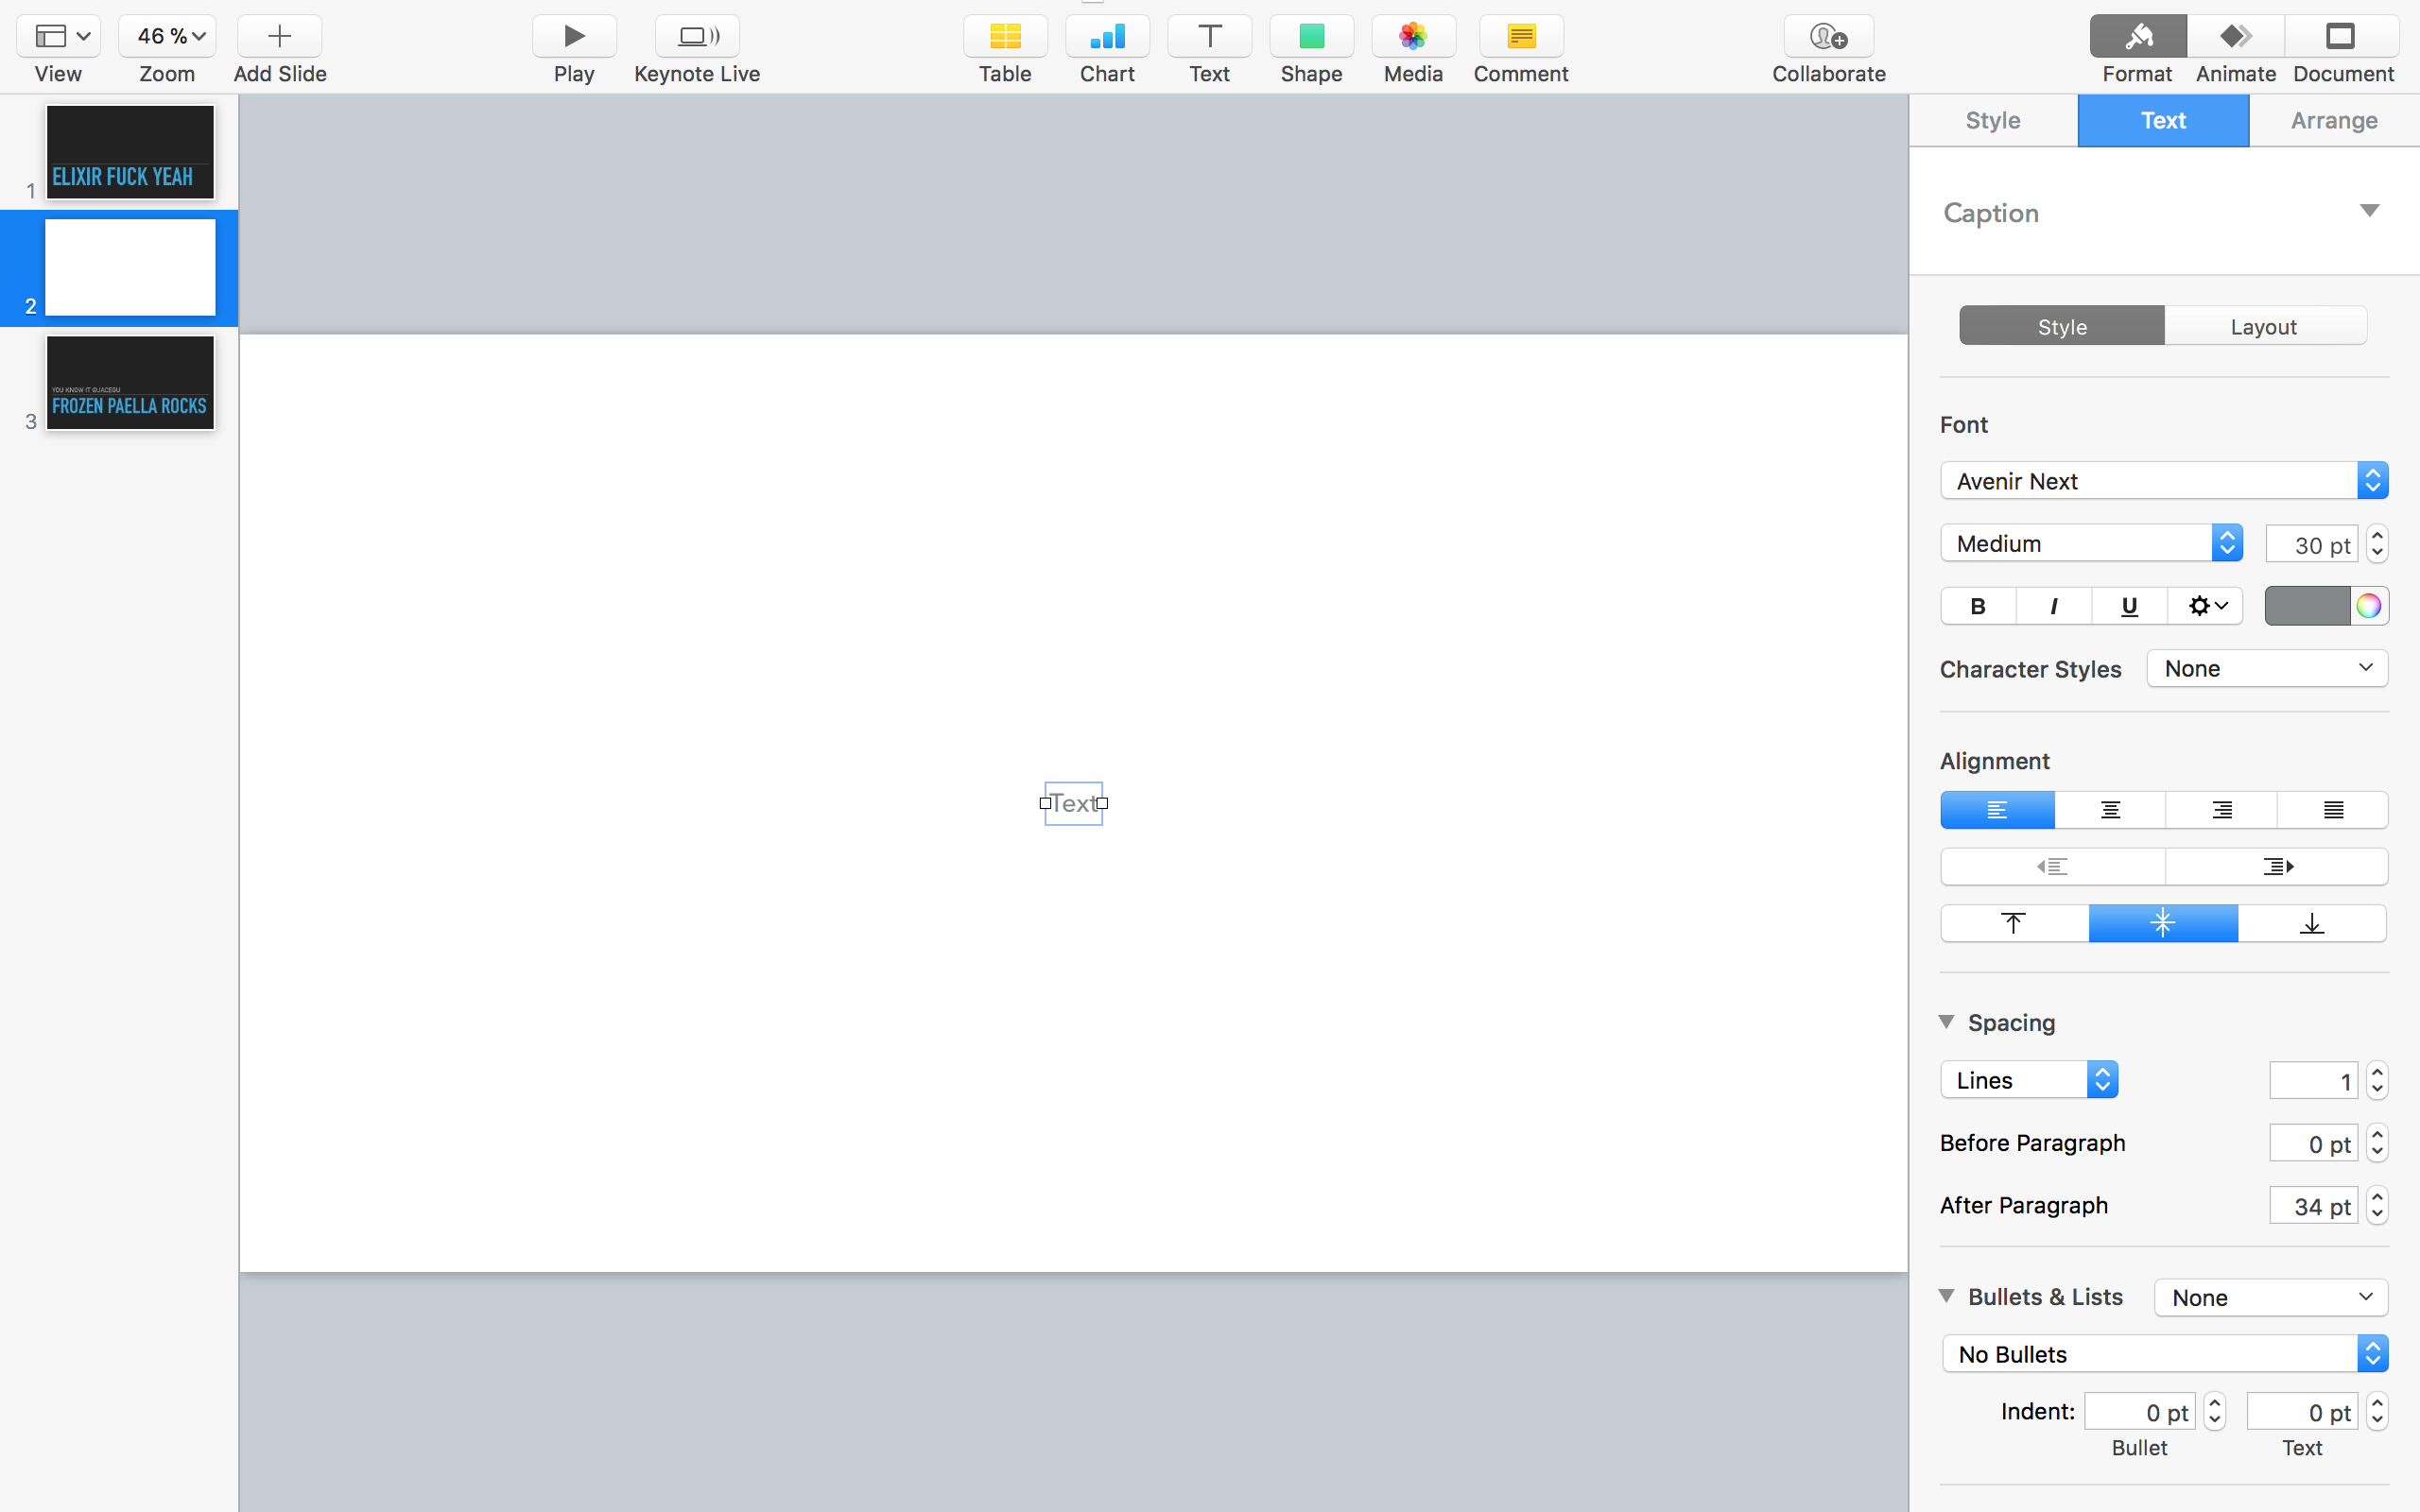
To get syntax highlighting, I usually use GitHubs gists. I create a single gist per talk and then paste my snippets in there. This comes with the advantage that you can share the used snippets along with your slides later on. There are also some command-line tools that can do the trick. In the end, you need your snippet in RTF (rich text format).
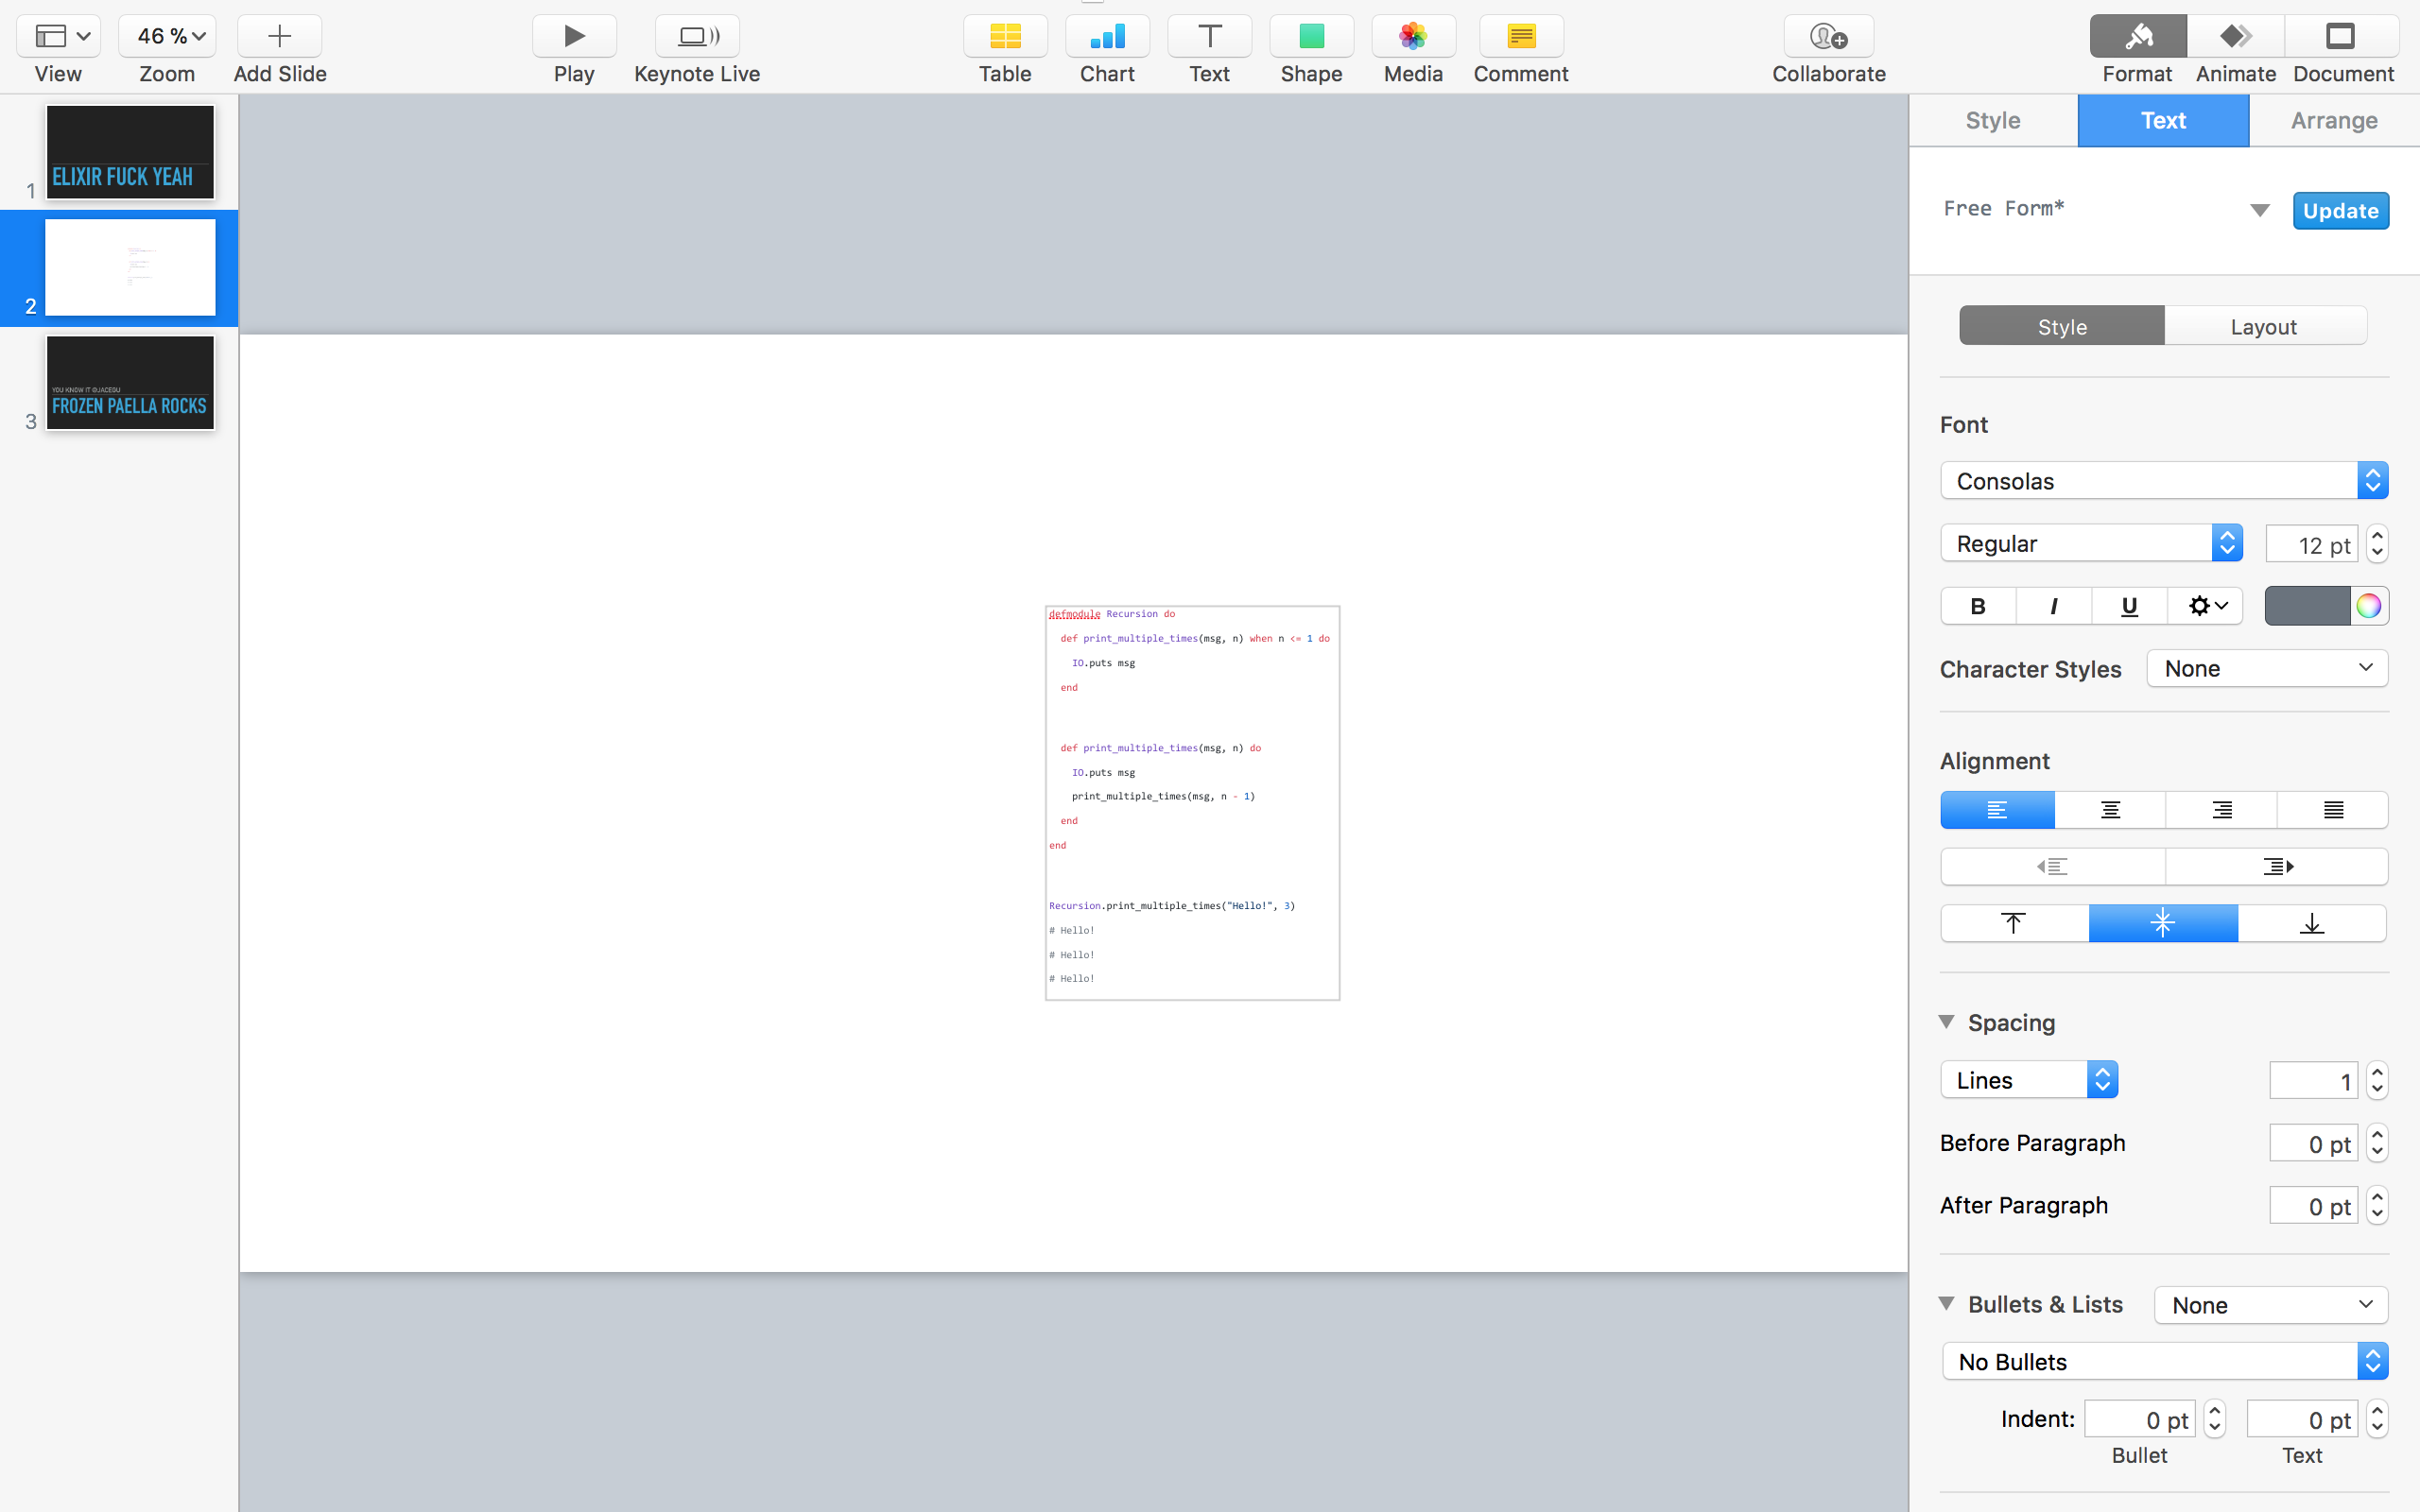
Unfortunately, copying from gists creates some newlines, so you need to compress your code as much as possible.
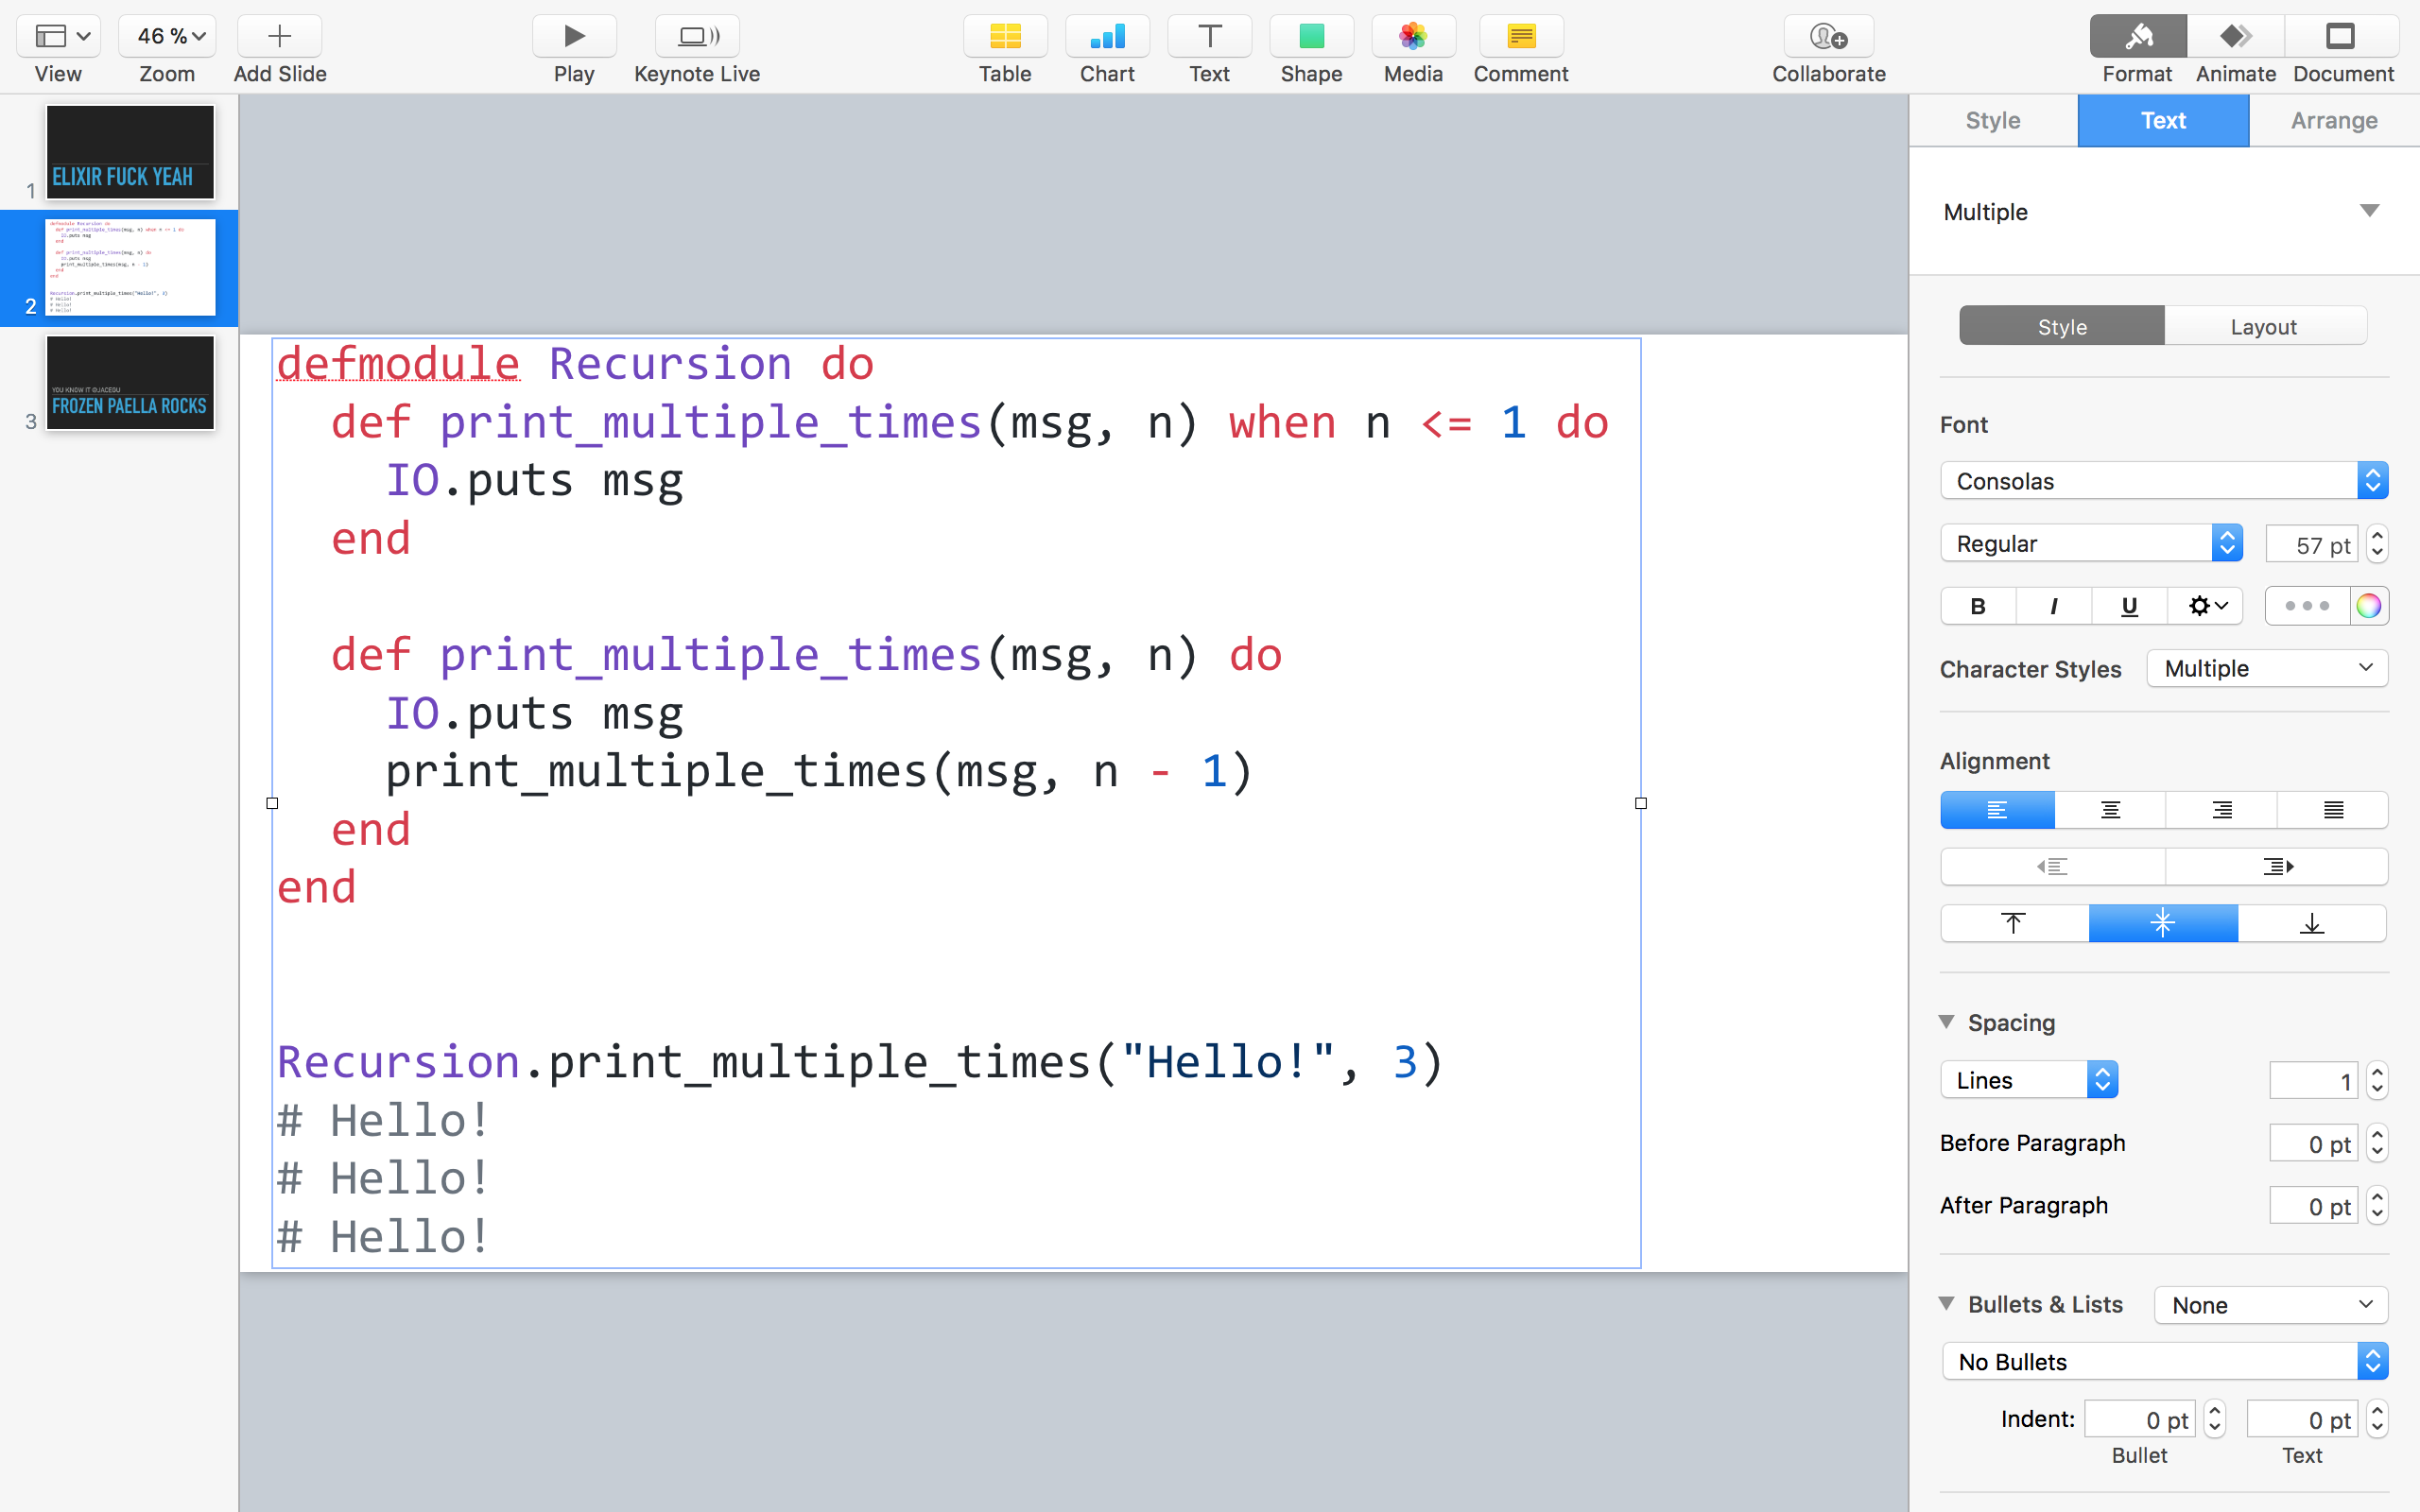
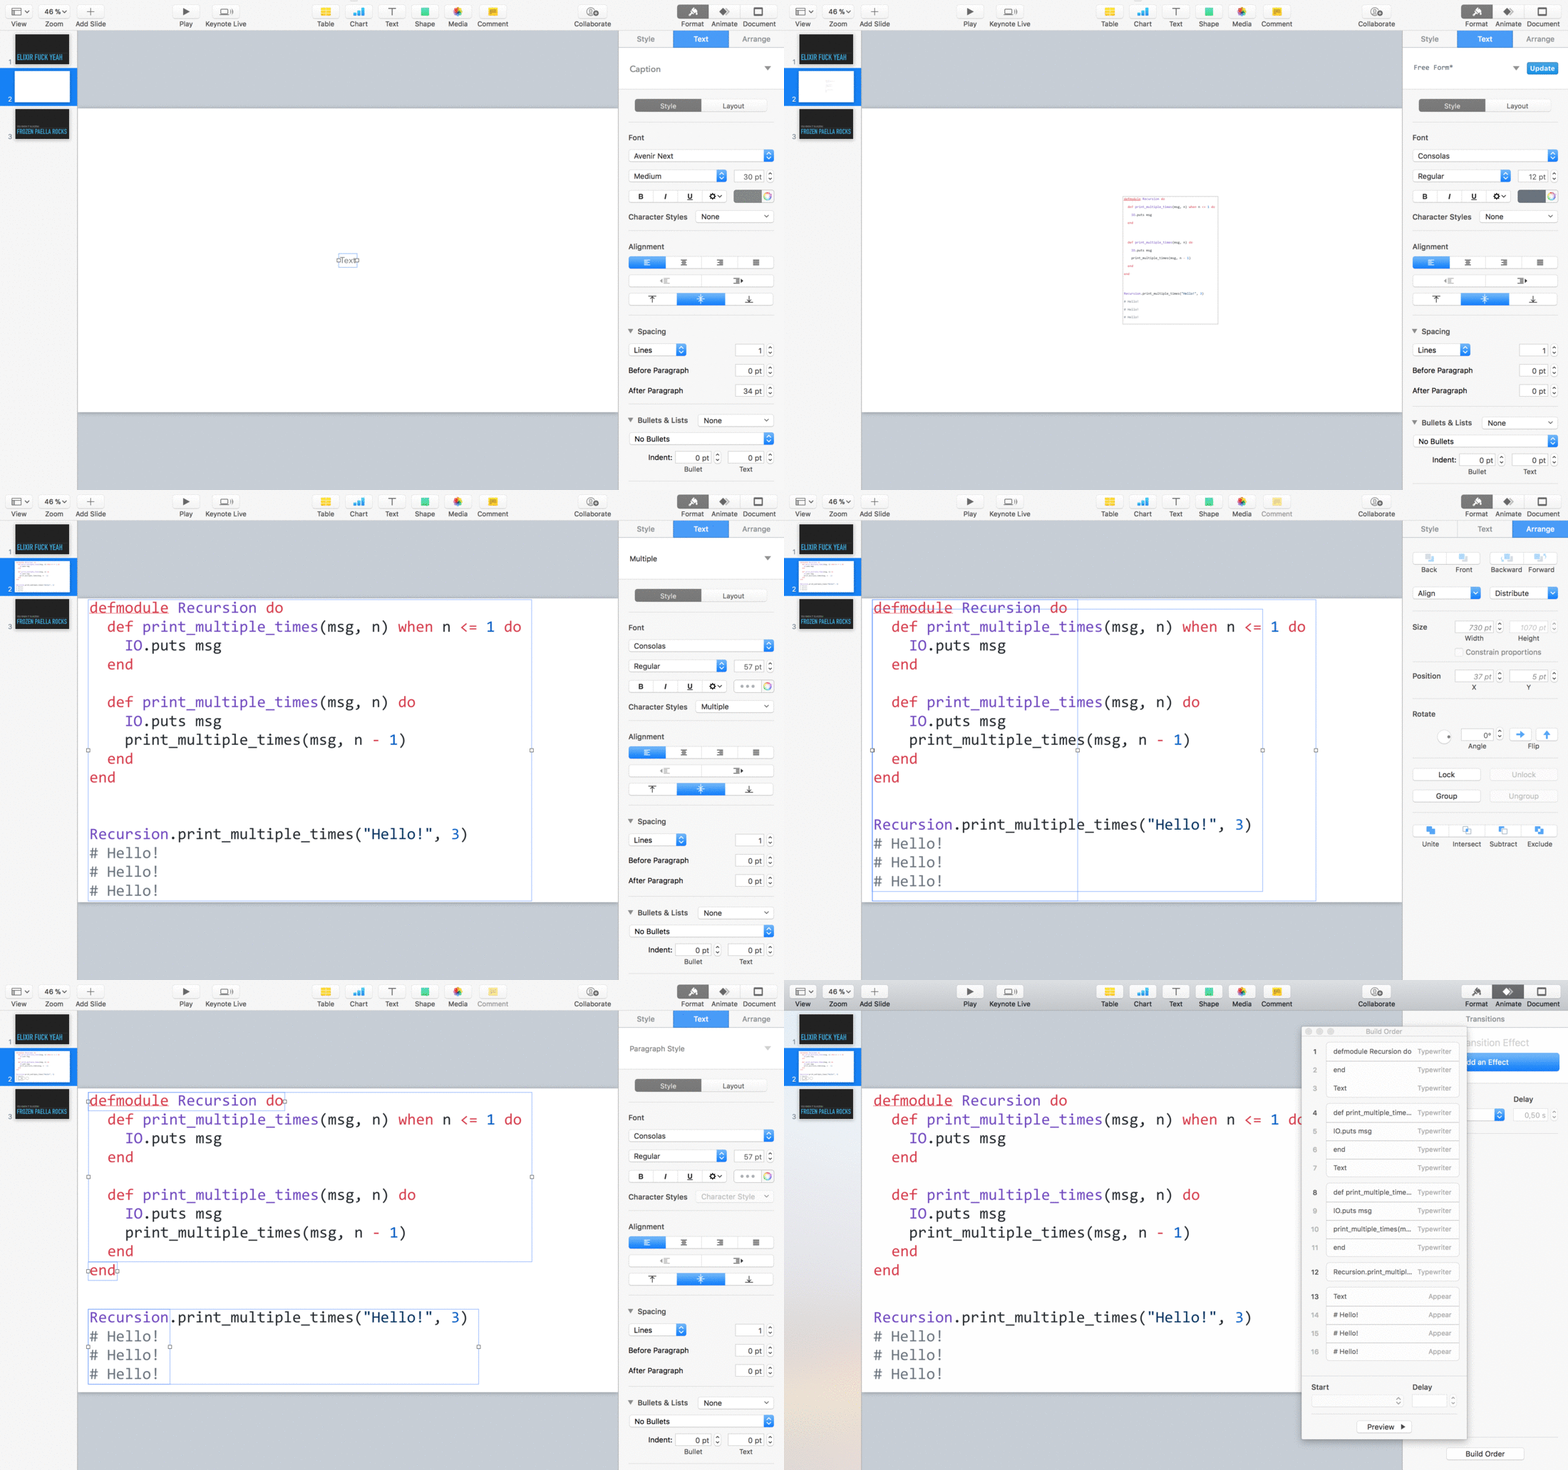
Now we have a nice chunk of code highlighted in our slide deck. Remember that we only want to reveal the code bit-by-bit; Keynote's great animation features will help here. To animate the code, we need to slice it into its bits.
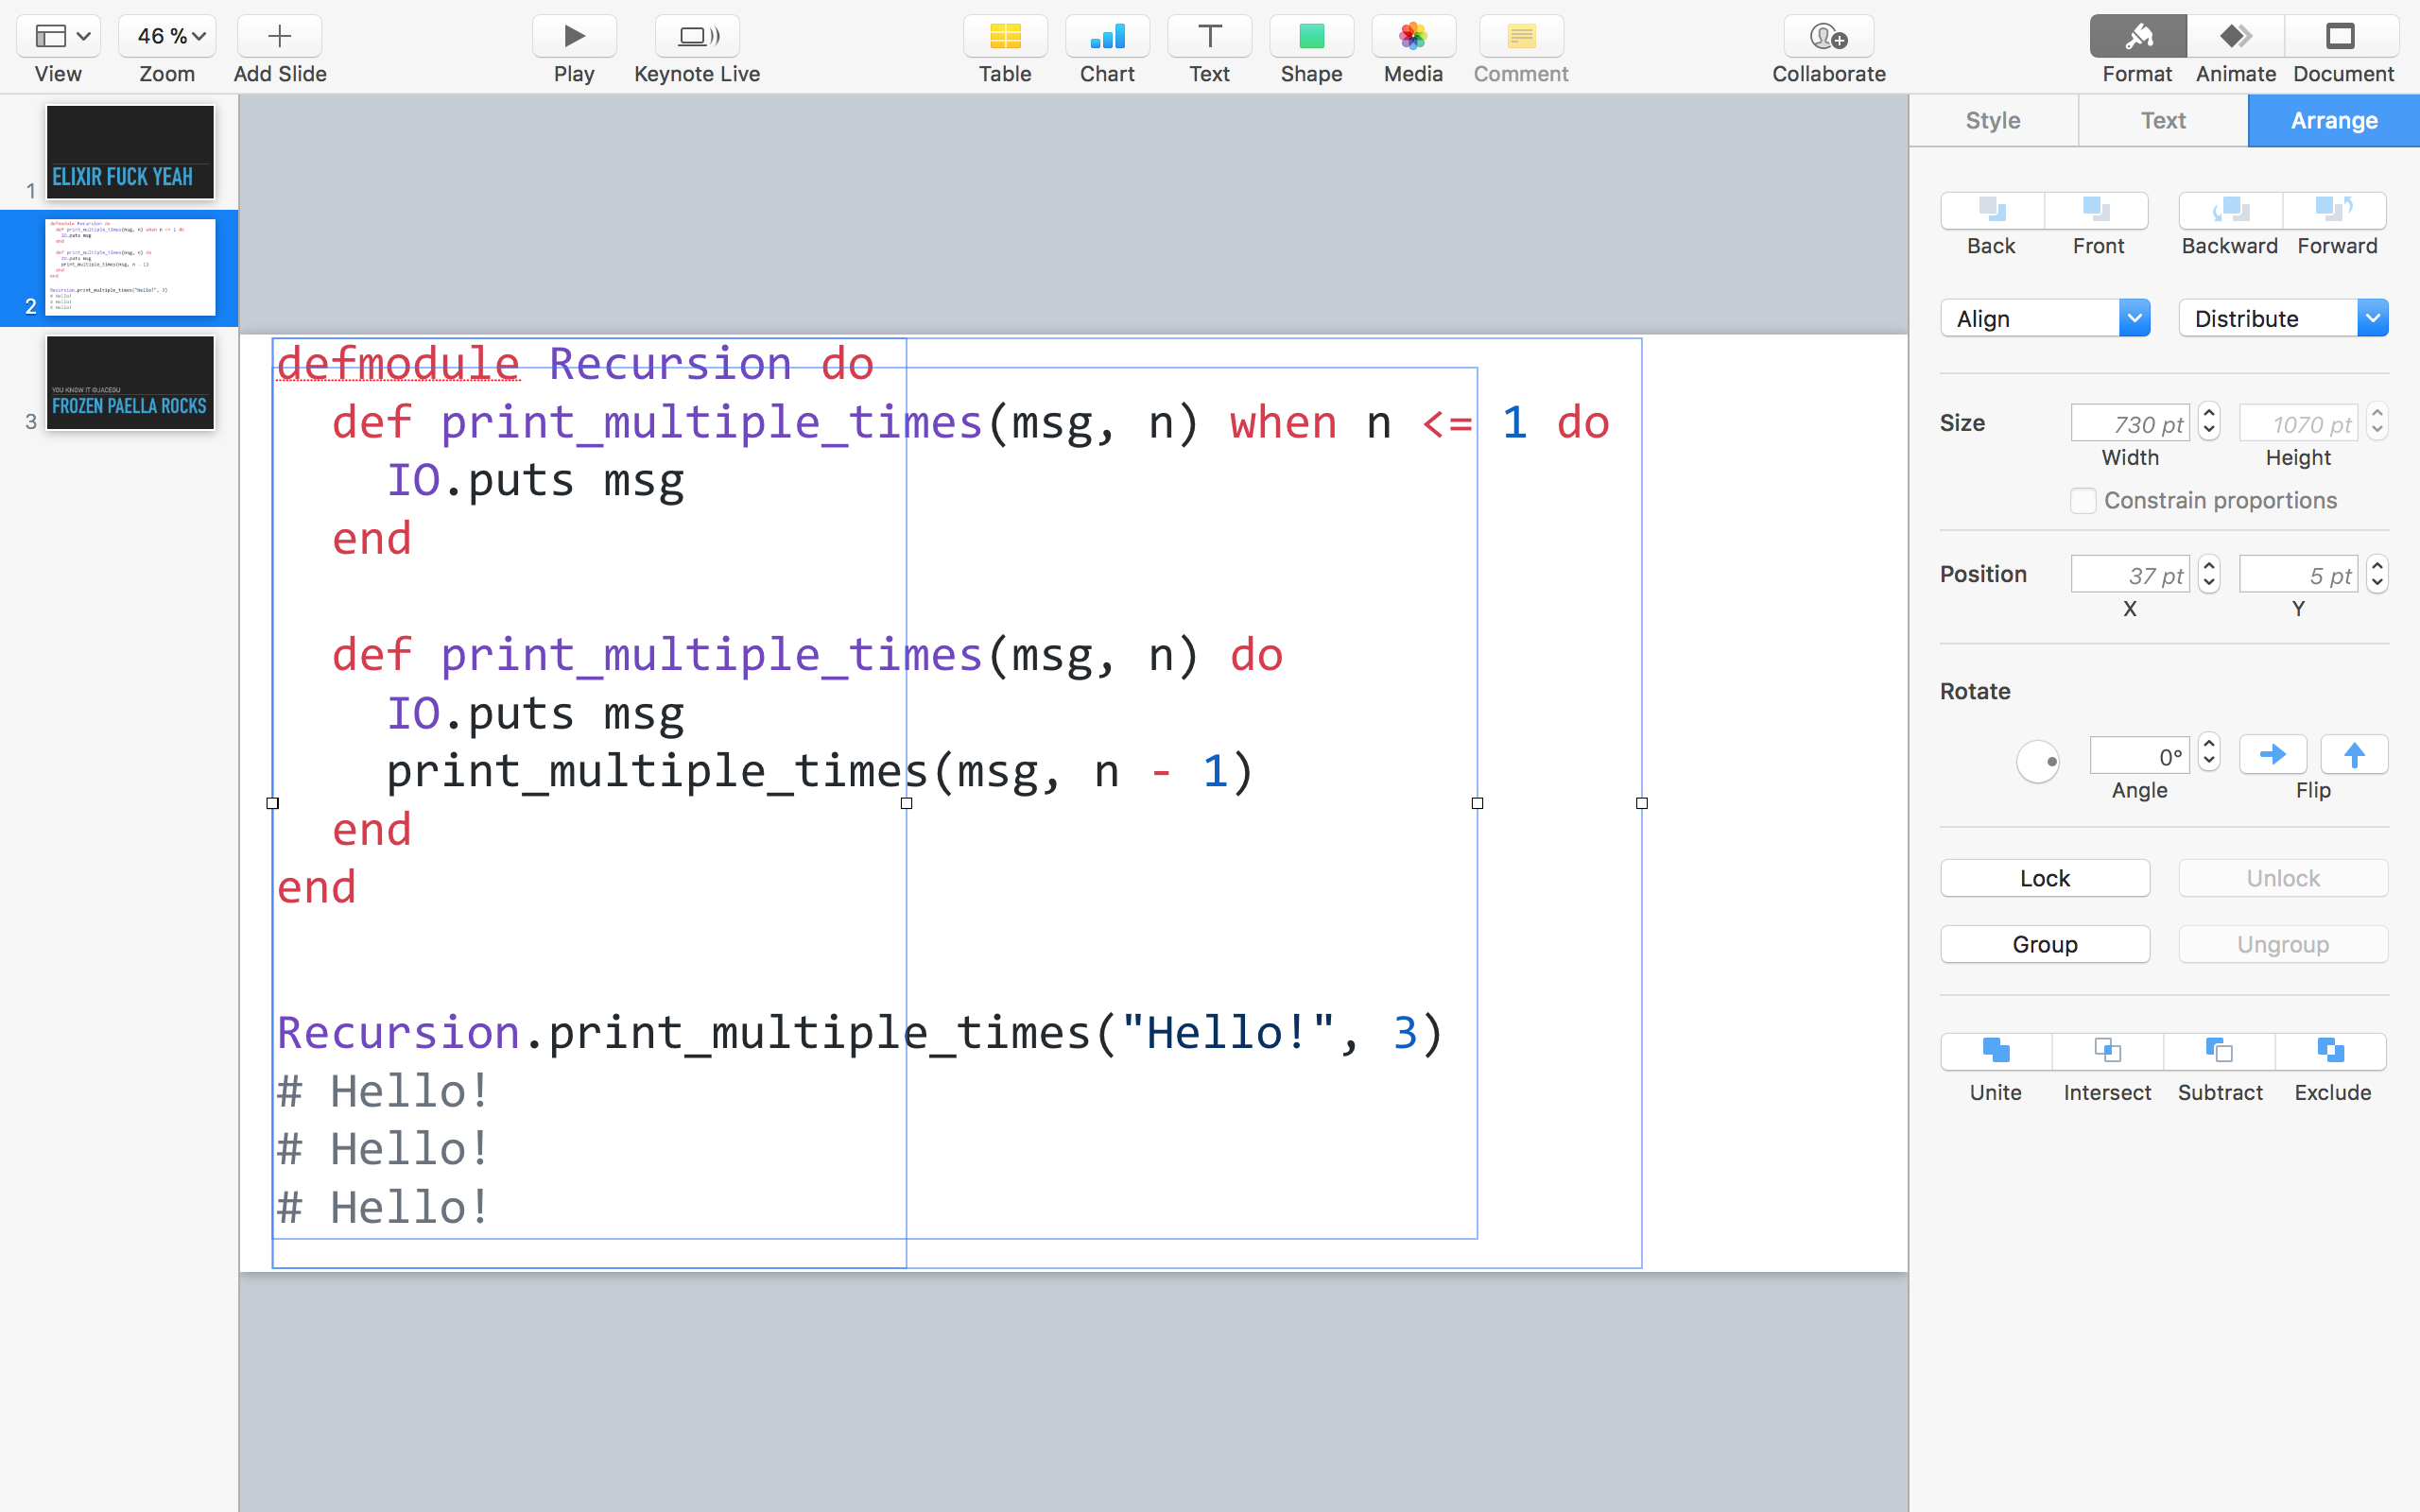
I usually do this by duplicating the text box (CMD + D), removing everything other than the bit I need, and move it into place. Often layers will overlap, so you need to move thing back and forth a lot. Repeat this for every bit that you want to animate.
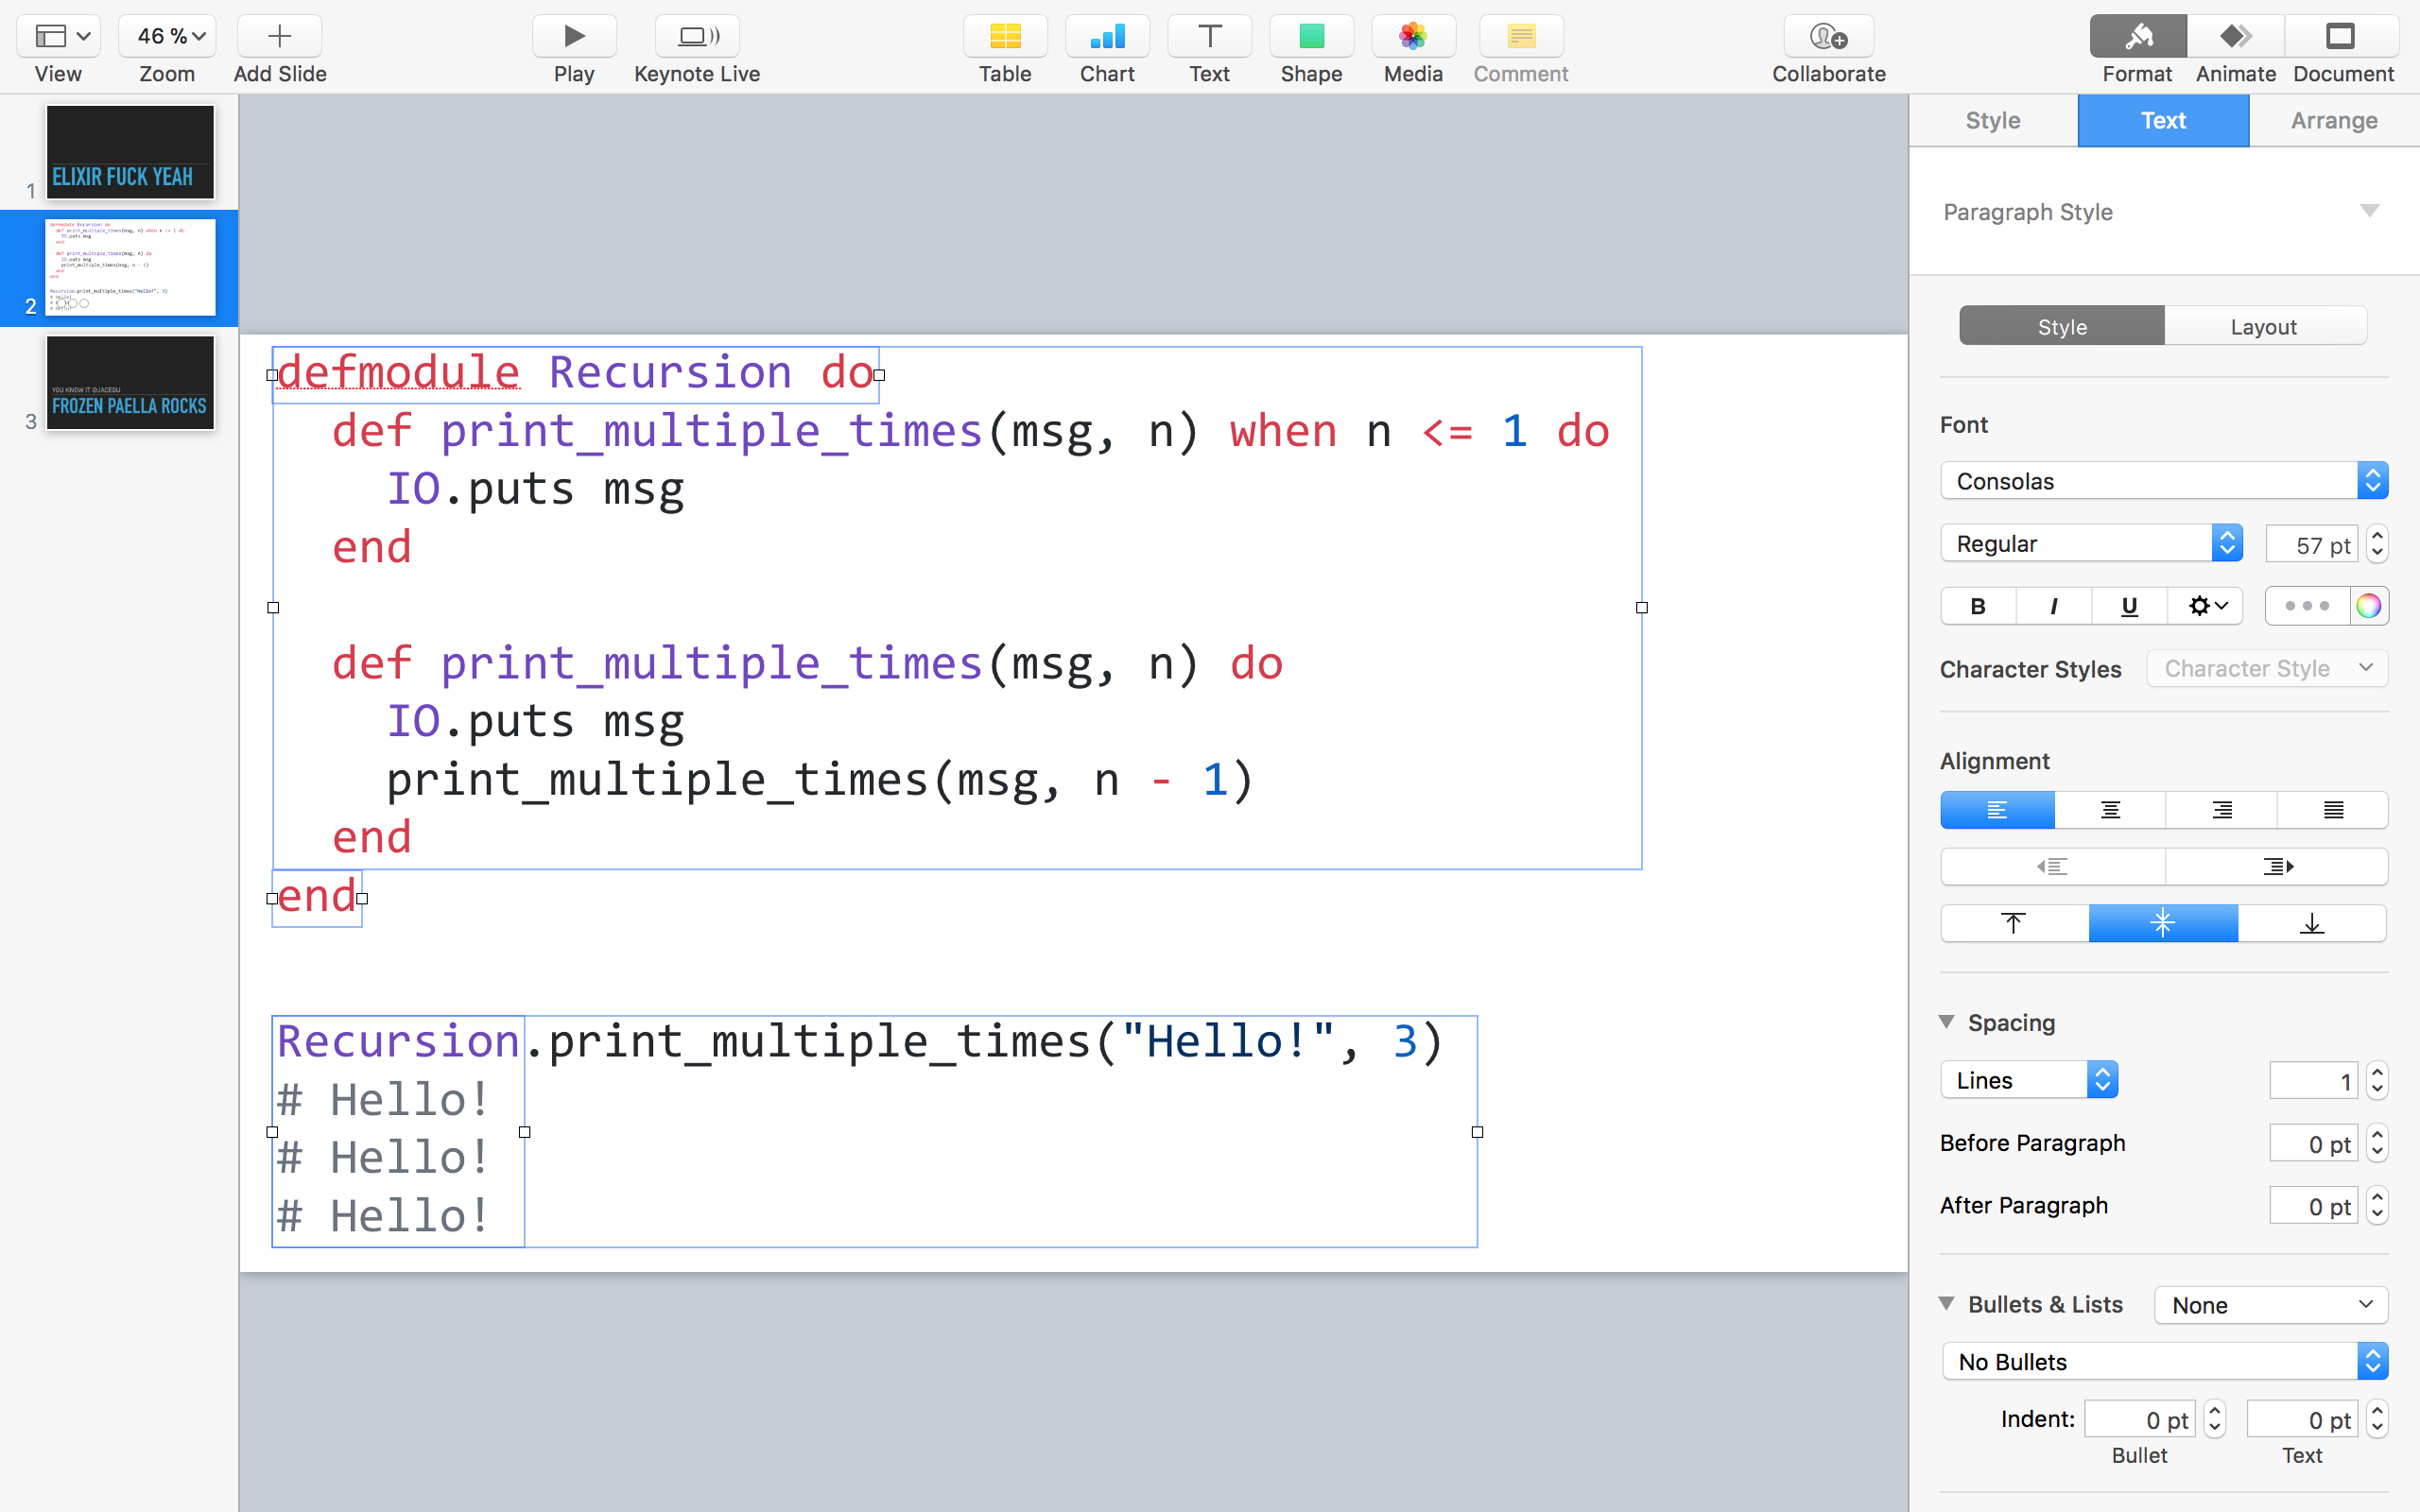
The last part is adding the animations; Typewriter works perfectly for this, it's not too flashy while also adding the appeal of live programming.
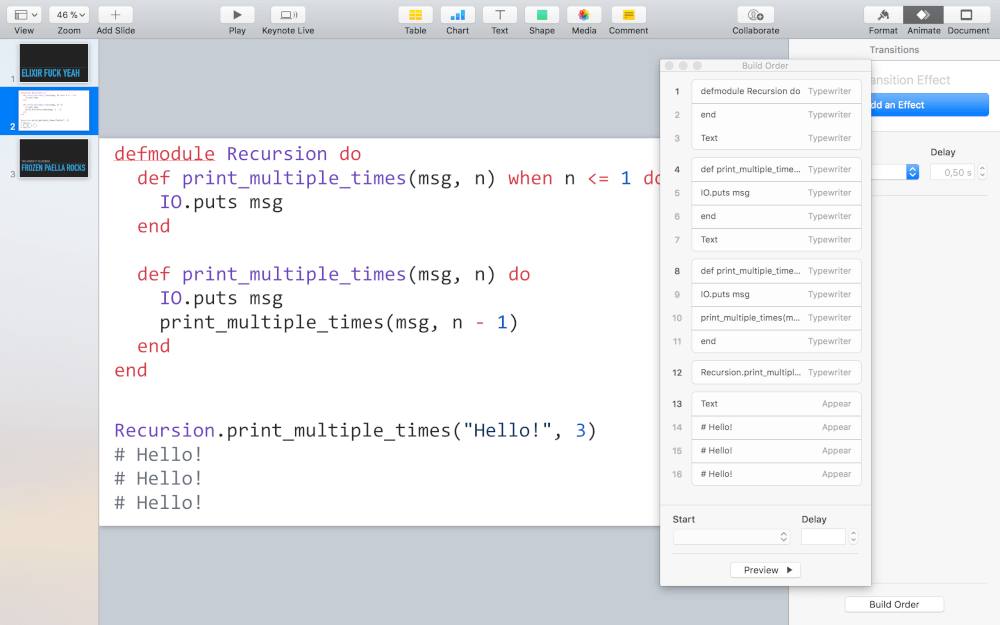
Note how the different sections are in order, first displaying the complete module before adding the function to it. Typewriter needs to be set to display by paragraph, and some steps need to build after the previous one, like when you want to show a single method, and some will need to wait for a click.
Here at DNSimple, we've collected some of our best and most loved talks at https://study.dnsimple.com/ where you can find slides, videos, and other resources to learn what we can do best; Automating Domain Management.
Ole Michaelis
Conference junkie, user groupie and boardgame geek also knows how to juggle. Oh, and software.
We think domain management should be easy.
That's why we continue building DNSimple.

